Creating Layer 3 Connections to Google

Navigating to the EVC Order Form
- Follow steps 1-4 in the “ordering OCX services” section to navigate to the Port ordering page.
- Click on the “EVC” tile and click “continue”.
- On the next screen, select the tile that displays “Connect to a service provider or other OCX participant”.
- Select the tile that displays “Connect to a Service provider” and click “Continue”.
- Next, select the tile labeled “Layer 3 Connection”. Click “Continue”.
Completing the EVC Order Form
Part 1: Fill out the required data fields in the EVC order form:
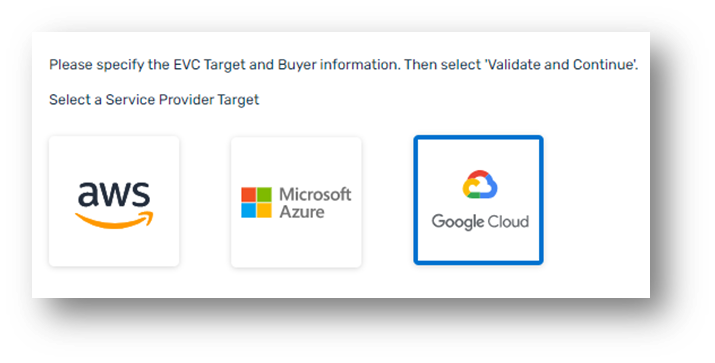
- Select Provider you wish to connect to. In this case select Google Cloud
- Select the Target Location
- Redundancy: Select whether your connection requires a single VLAN or a redundant VLAN attachment.
Please note: Creating a redundant VLAN attachment will result in two EVC’s being created.
- Select Buyer Account
- Select the desired Virtual Router
- Provide a unique name for your EVC
- (Optional) Specify an Invoice Label
- Specify the service rate desired
- Click the “Validate and Continue” button to procced
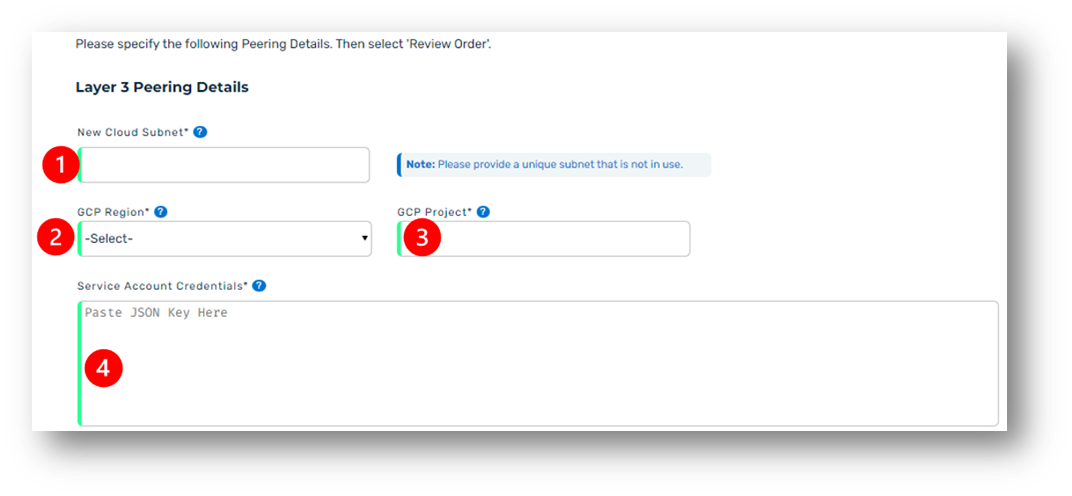
Part 2: Complete the Layer 3 Peering Details and Credentials
- Provide the New Cloud Subnet in CIDR Format
- Select the GCP Region
- Provide the GCP Project
- Provide the Service Account Credentials in proper JSON format
(Optional)Part 3: Provide prefix details. You may enter up to 100 prefixes.
- Select the policy you wish to apply to the prefix
- Provide the peer network address in CIDR form
- Select the desired range: “Exact” or “Range
- If you select range, provide the “Start” and “End” of the range
- Repeat steps 1-3a for any additional prefixes provided
- Click the “+” button to add more prefixes
- Click “Review Order”
Part 4: Add contact information and review your order
- Enter valid contact information for this request
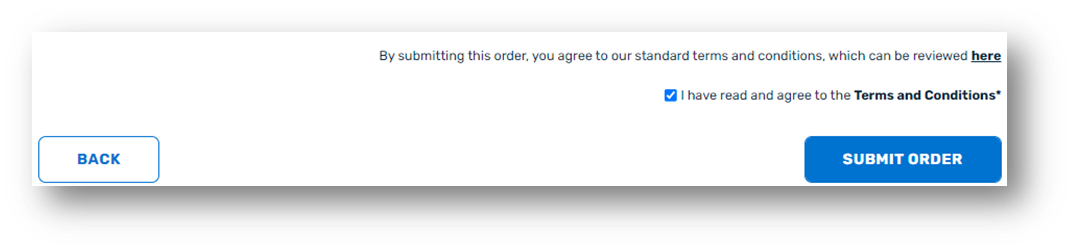
- Review all data parameters associated with the EVC Request. If any information is incorrect or changes need to be made, users may click the “Back” button and make the necessary changes.
- After confirming all information is accurate check the Terms and Conditions check box
- Click “Submit Order”
After completing step 4, the order will be submitted and automated provisioning will begin. No other action is required at this time.