Creating an EVC from your Virtual Router to OCX Port

Creating an EVC between your Virtual Router to OCX Port
For customers utilizing layer 3 connections, an EVC is needed to connect the router to the OCX port to achieve full integration across the environment. This article outlines the steps required to achieve the aforementioned connection.
NOTE: This EVC Connection is not available for customers who do not have an active Virtual Router and Port.
NAVIGATING TO THE EVC ORDER FORM
- Follow Steps 1 to 4 in the “ordering OCX services” section to navigate to the Port ordering page.
- Click on the “EVC” tile and click “continue”.
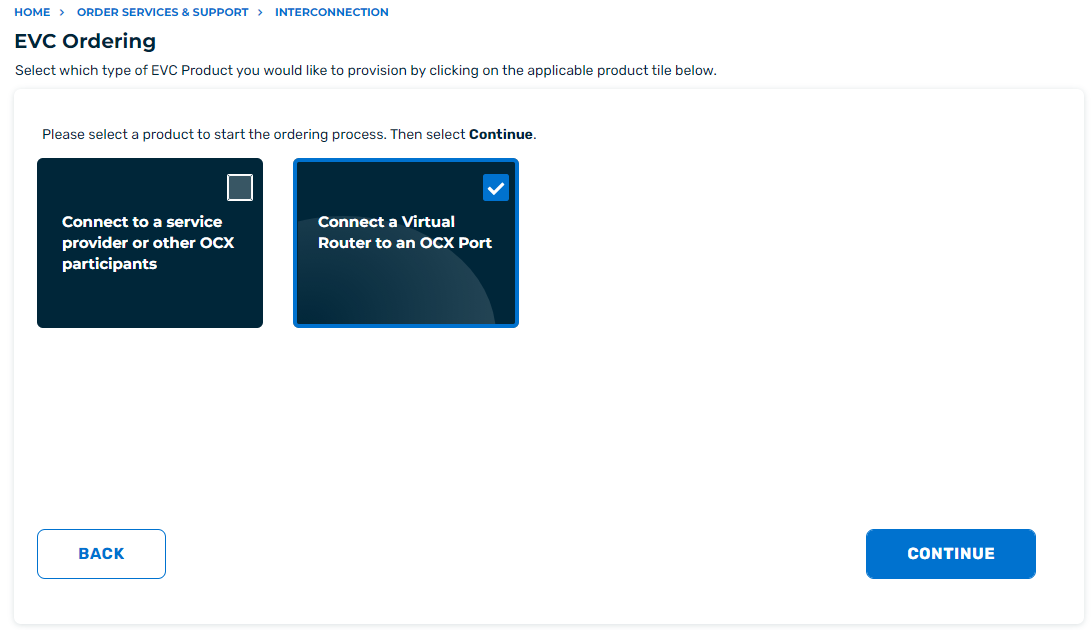
- On the next screen, select the tile that displays “Connect a Virtual Router to an OCX port” and click “Continue”.
COMPLETING THE EVC ORDER FORM
- Select the Virtual Router.
- Select OCX port.
- Specify the IP Subnet you wish to use.
- (Optional) Specify a unique VLAN.
- Select the desired Service Rate.
- Provide a unique name for your EVC.
- (Optional) provide a reference label.
- Agree to the terms and conditions.
- Click “Submit Request”.
After completing Step 9, the order will be submitted and automated provisioning will begin. No other action is required at this time.