Routing Tables and Management

NOTE: The OCX only supports Private IP address space at this time.
STATIC ROUTES
Users can manage their Static Route Tables via the Virtual Router Service Details. To Navigate to the Virtual Router Service Details, follow the steps below:
- Navigate to the menu pane on the left-hand side of the screen.
- Click “OCX Dashboard”.
- From there, select the Virtual Router product.
- Navigate to the Virtual Router service you wish to modify and click on the hyperlinked service number. This will lead you to the Virtual Router Service Details page.
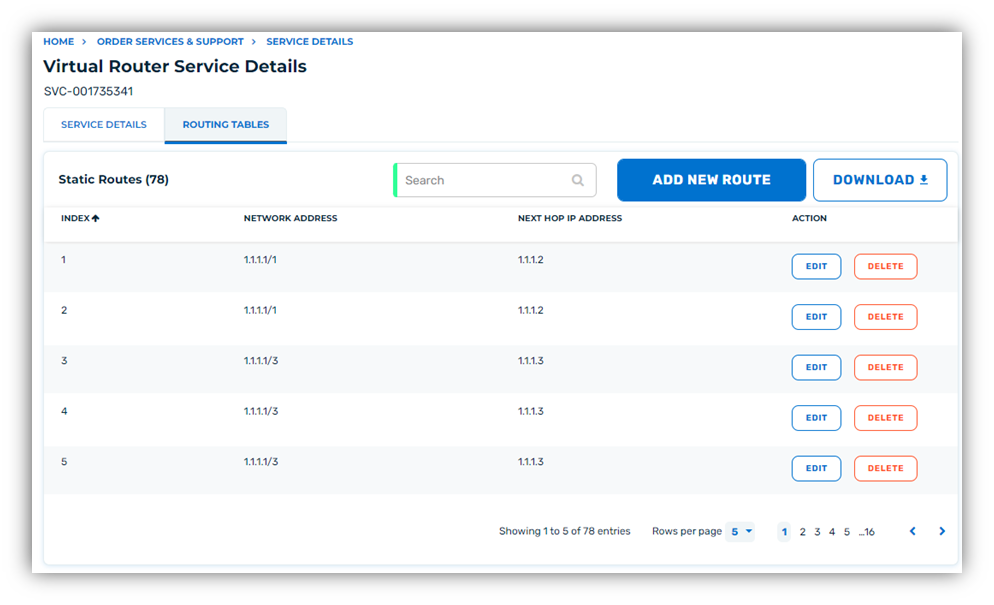
- Once you are in the Virtual Router Service Details page, click on “Routing Tables”.
- Once you are in the Virtual Router Service Details page, click on “Routing Tables”.
- From there, users will be able to add new routes, edit existing routes, or delete existing routes.
NOTE: There may be additional steps required by the Cloud Provider to establish Dynamic Routing. Please check with your Cloud Provider for any additional requirements.
Adding New Static Routes
To add new Static routes:
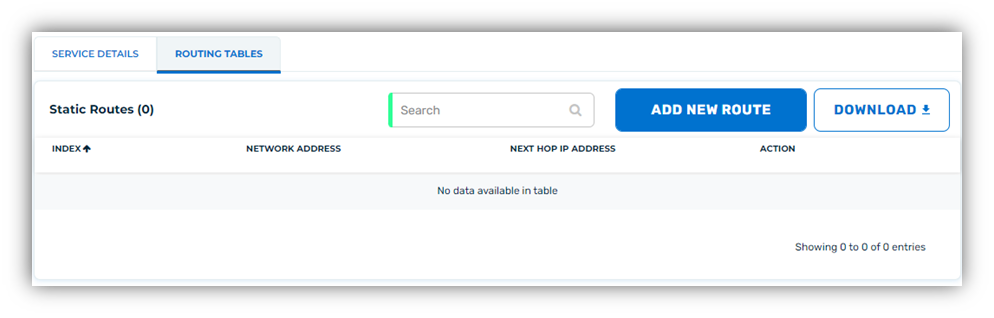
- Navigate to the Virtual Router Service Details Page and click the “Add New Route” Button. A new Modal window will appear.
- Next, provide the Network Address in CIDR Format.
- Provide the next hop IP address.
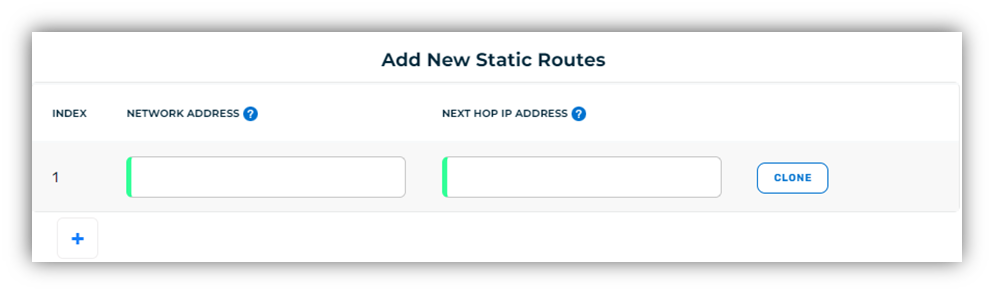
- (Optional) Users may click on the “+” button to add more static routes:
- Clicking the “Clone” button will automatically add another instance of the static route that is cloned.
- After all Static Routes are entered, click the “Add” button on the bottom right corner to save the routes and apply the changes to your Virtual Router.
Deleting a Static Route
To delete a Static route:
- Navigate to the Virtual Router Service Details Page.
- Locate the Static Route that you wish to delete in the routing table.
- Click the “Delete” button.
- Confirm that you wish to delete the static route and click “Yes, Delete”.
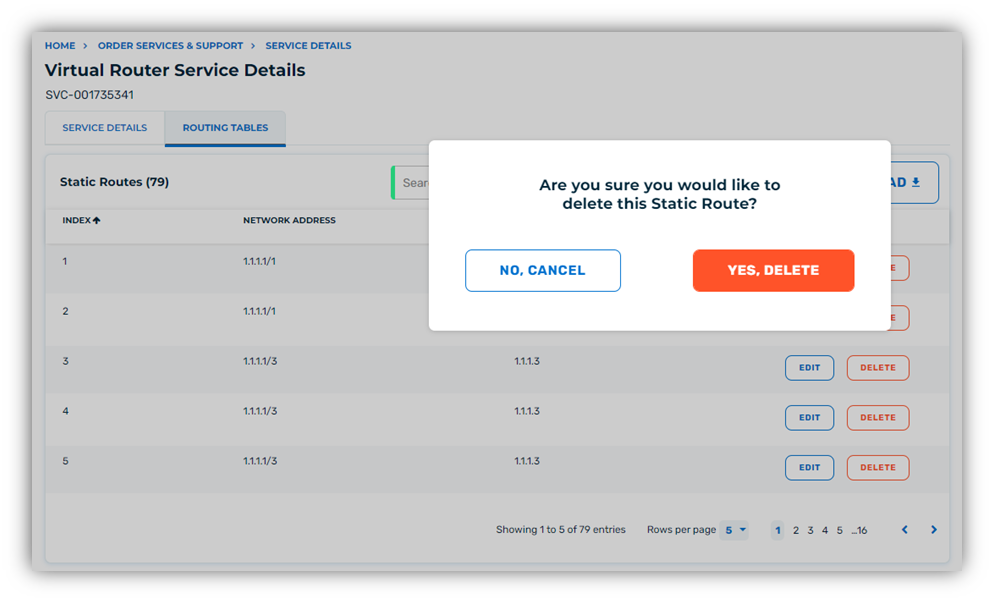
After completing Step 4, the static route will be deleted from the routing table.
Editing an Existing Static Route
To edit / modify an existing Static route:
- Navigate to the Virtual Router Service Details Page.
- Locate the Static Route that you wish to delete in the routing table.
- Click the “Edit” button. A modal window will appear and allow changes to be made to the existing static route.
- After making the desired changes, click the “Save” button.
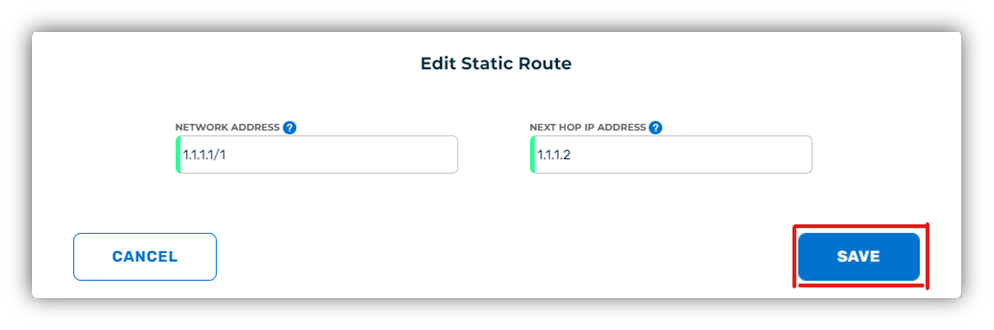
After Step 4, the changes made to the static route will be applied.
DYNAMIC ROUTING
NOTE: The OCX only supports Private IP address space at this time.
Prefixes
Users can manage their Dynamic Route Tables via the EVC Service Details. To Navigate to the EVC Service Details, follow the steps below:
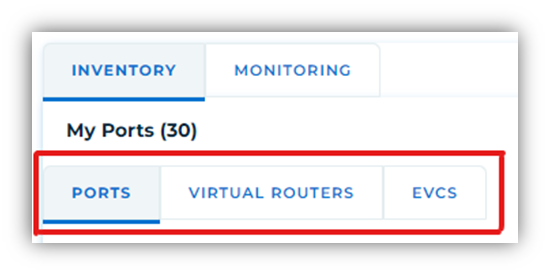
- Navigate to the Inventory screen of the OCX Dashboard.
- Select the “EVC” Tab.
- Locate the service you wish to apply changes to and click the Hyperlinked Service Number in the “Service Number” column. After clicking the hyperlinked Service Number, the Service Details Page will be presented.
- Next, select the “Routing Policies” Tab at the top the page.
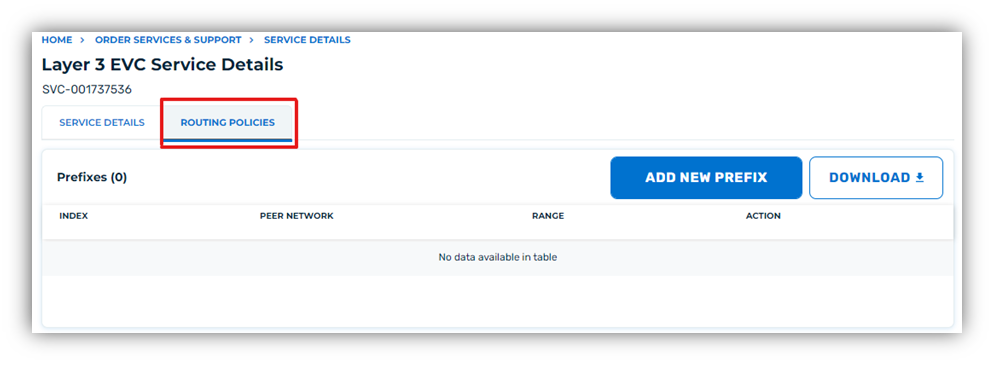
From this screen, users will be able to add new prefixes or modify / delete any existing prefixes.
Adding New Prefixes
- Navigate to the Layer 3 EVC Service Details Page.
- Click “Add New Prefix”. A modal window will appear, and users will be prompted to fill out additional fields associated with the prefix add.
- Select the policy to be applied to the prefix.
- Enter the peer network in CIDR format.
- Select the Network Range:
- If “range” is selected, provide the range start and end.
- (Optional) Users may click on the “+” button to add more static routes:
- Clicking the “Clone” button will automatically add another instance of the static route that is cloned.
- After all Prefixes are entered, click the “Add” button on the bottom right corner to save the routes and apply the changes to your EVC.

Deleting a Prefix
To delete a prefix:
- Navigate to the Layer 3 EVC Service Details Page.
- Locate the prefix that you wish to delete in the routing table.
- Click the “Delete” button.
- Confirm that you wish to delete the static route and click “Yes, Delete”.

After completing Step 4, the prefix will be deleted from the routing table.
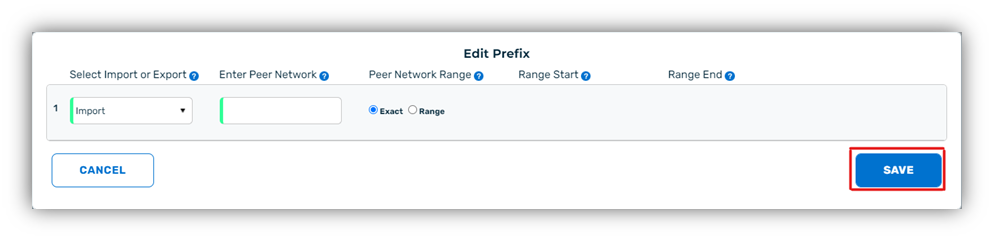
EDITING AN EXISTING STATIC ROUTE
To edit / modify an existing Static route:
- Navigate to the Layer 3 EVC Service Details Page.
- Locate the prefix that you wish to modify in the routing table.
- Click the “Edit” button. A modal window will appear and allow changes to be made to the existing prefix.
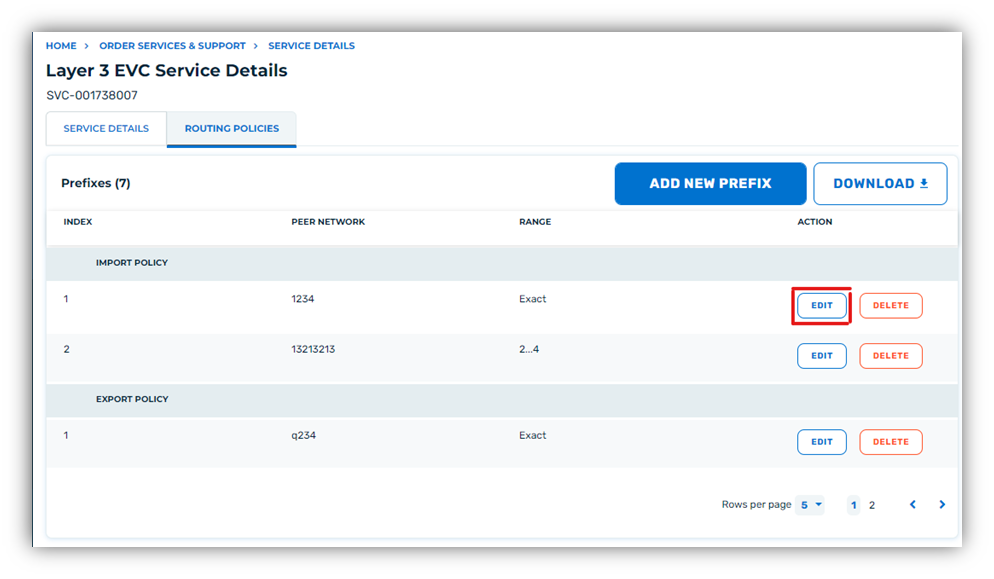
- After making the desired changes, click the “Save” button.
After completing Step 4, the changes made to the prefix will be applied.
RESTRICTED IP RANGES
When setting up dynamic routing, it is important to be aware of the restricted IP ranges that are not available for use. There are two IP address blocks that are restricted:
172.31.0.0 / 16
- This block is reserved for Virtual Router Loopback IP addresses.
169.254.0.0 / 16
- This block is reserved for use of link-local IPv4 address space for BGP peering between virtual routers and the cloud provider infrastructure(s).
All other IP ranges are supported by CoreSite and are available for customer use.